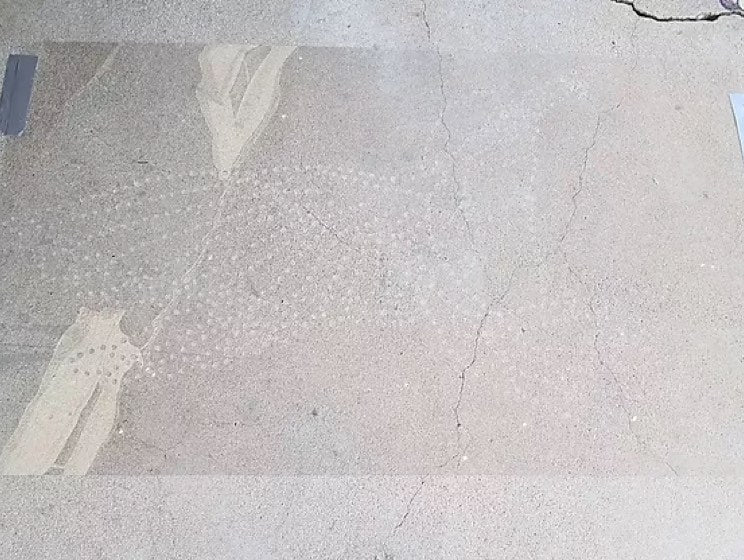
When you have completed using your stencil, place it up off of the ground. Stencils are clear and can be slick if stepped on!
Unroll your design, lay it flat on the ground, If your design has more than 1 page (a double size design), lay them down so the design lines up. Securly tape (duct Tape) your stencil to the ground at the top and bottom of your stencil.
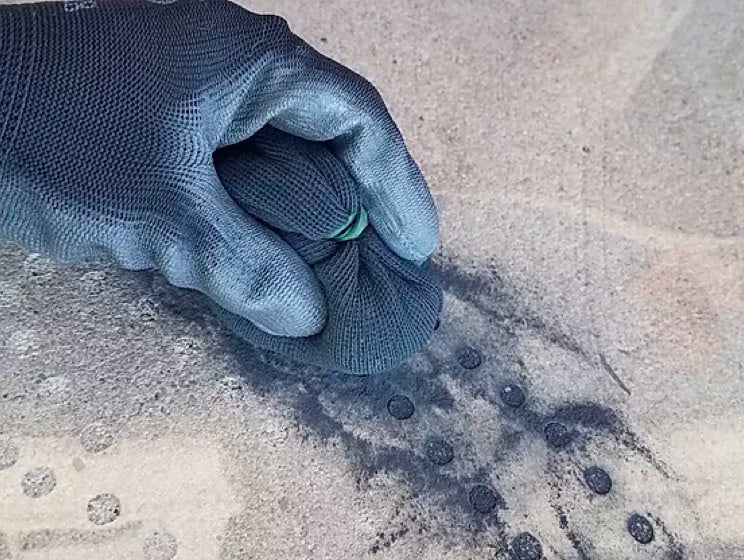
Using one of your "pouncing Chalk Bags," gently tap and rub the bag throughout the holes in the stencil. Use your hand to rub the chalk in the holes as well if needed. Do this throughout your entire design. Kits come with both a black chalk and blue chalk filled pouncing bag. Either can be used on any ground surface color, but do note the black will show up more clear on lighter concrete and sidewalk and the blue will show up more clear on darker asphalt and driveways.
Carefully remove the tape from one end of your stencil and carefully pull the stencil up away from the ground. When you have completed using your stencil, place it up off of the ground. Stencils are clear and can be slick if stepped on!
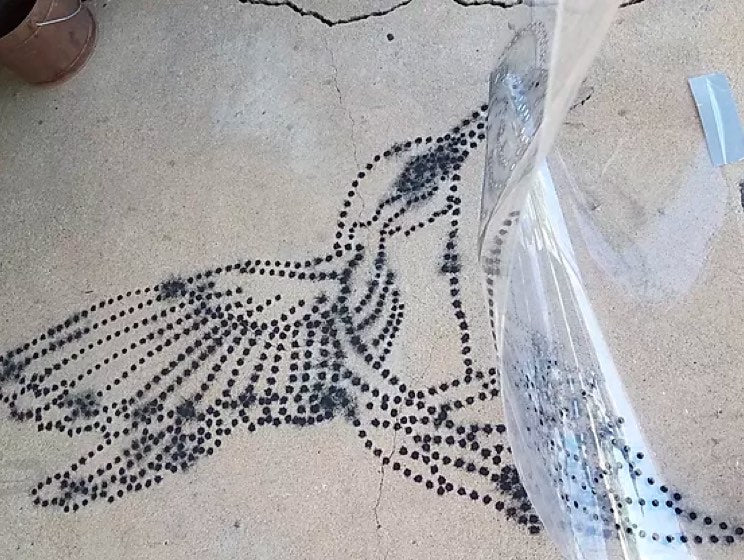
A clear design dot outline will be transferred on the ground in chalk.

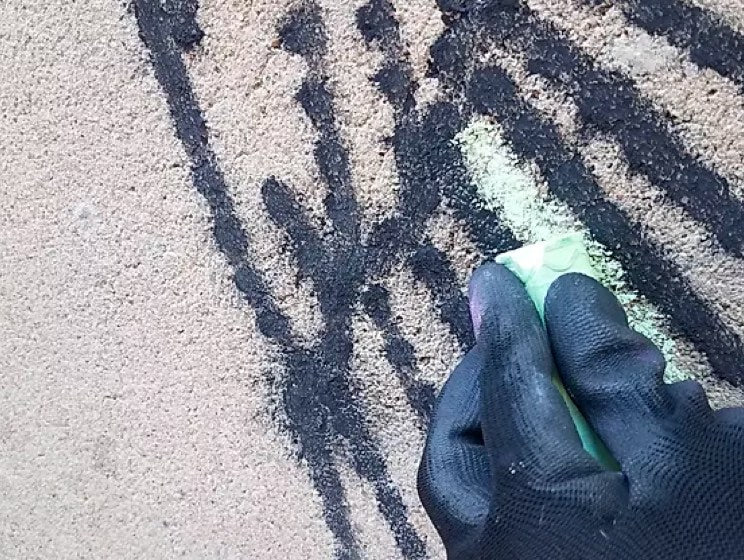
Use your finger or a Blending Stump to push the outline into the ground/ pull the dots into a solid outline. If you used your Blue Pouncing bag for your outline, you can use your Black Chalk Stick to carefully draw over your blue dot design, then use your finger to push the black outline into the ground.
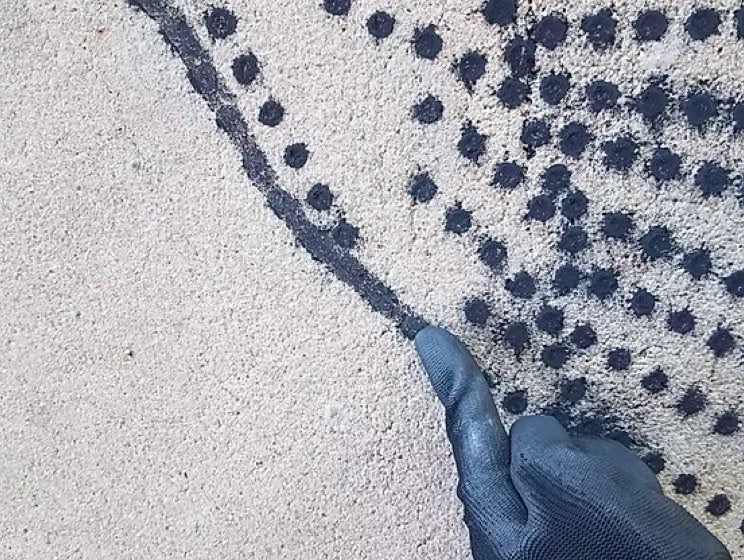
You should now have a solid outline of your design.

Gently spray your chalk outline with water to help "set" your chalk. Color in and Have Fun!!!
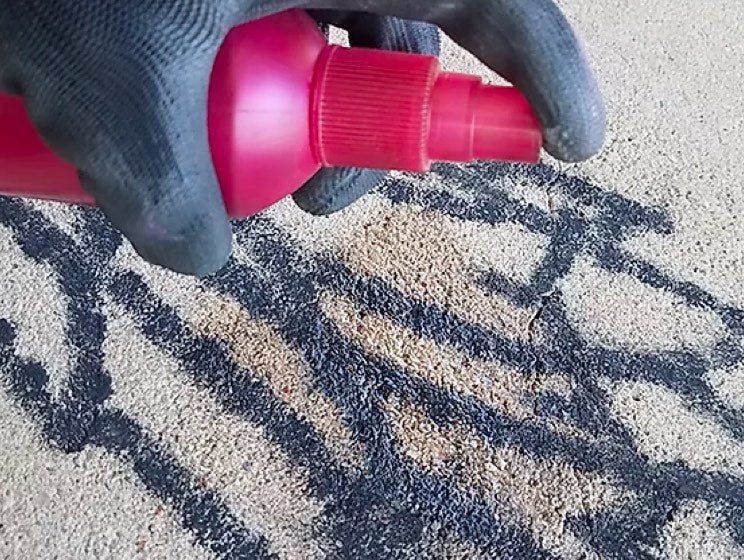
Use basic kids sidewalk chalk or any brand of chalk you have to fill in the areas of your design. If you purchased the I Chalk Arted Color Pack of chalk, use those to highlight and enhance your kids sidewalk chalk. Always spray your chalk to set it after you have finished with an area.
It is recommended that children under the age of 12 have parental or adult supervision using the stencil.
Protect hands with gloves, and your knees with a kneeling pad, knee pads or an old pillow.
If you don't own a full set of professional chalk, you can use basic kids sidewalk chalk to fill in the areas . And use (if purchased from I Chalk Arted) the higher pigmented chalks to add depth and highlights on top of the kids chalk!
Use fingers or a blending stump to blend the outline & small areas. Use a blending tool (foam) or palm of hand to blend larger areas.
You don't need to fully cover an area with chalk to fill it in. Apply a little chalk somewhat "scratched" throughout the area, then gently spread the chalk to fill in the area. Add more chalk if needed. Too much chalk will create pile buildup.
Whenever you complete an area, gently spray water over the chalk. It will darken, but will lighten once dry . This helps to "set" your chalk.
Always make sure any brand of chalk you use on the ground does NOT - say "oil" or "oil based." ONLY use chalk or chalk pastels on the ground.
If you use Tempera paint as a base, ALWAYS make sure it is washable Tempera paint. Do NOT use acrylic or oil based paints as a base to apply chalk on. More in depth instructions on Tempera paint is included when you purchase the Guidebook!
Stencil can be gently sprayed off with water if desired. Air dry or loosely roll back up for re-use!
Guidebook for aspiring professional chalk artists wanting to create larger chalk murals by hand. This 33 page guidebook has step by step instructions to transfer a gridded image into a large scale ground chalk mural. Includes: color photos, tips and tricks, and 5 sample grid designs in varying difficulty.


